 Whatsapp:
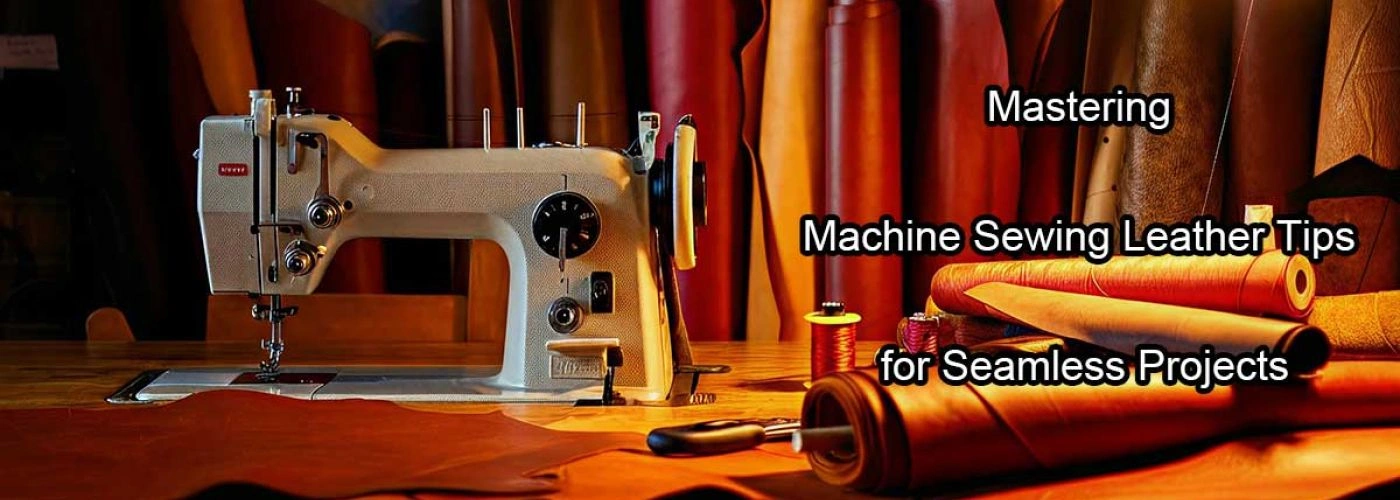
Mastering Machine Sewing Leather Tips for Seamless Projects
Sewing leather demands precision, patience, and the right tools. Whether you’re a novice or an experienced craftsperson, mastering the art of machine sewing leather can elevate your projects to a professional level. Sewing leather can be easy with simple techniques and modifications to standard home sewing machines. This comprehensive guide will walk you through essential tools, techniques, and tips to help you perfect sewing leather on your machine. In fact, many people have successfully learned to sew leather with a home sewing machine, dispelling common misconceptions and providing reassurance. Learning the skills and knowledge in this specialized craft is both rewarding and essential for success in leather sewing projects.
Introduction to Sewing Leather
Sewing leather can be a fun and rewarding project, allowing you to create unique and durable items such as bags, wallets, and belts. With the right techniques and tools, you can bring your leather projects to life and add an artisanal touch to your daily life. Today, we will explore the world of sewing leather and provide you with the necessary information to get started. Whether you are a beginner or an experienced sewer, this guide will help you learn the basics of sewing leather and provide you with the confidence to take on new projects.
Leather is a versatile material that offers endless possibilities for creativity. From crafting elegant wallets to designing sturdy belts, the projects you can undertake are limited only by your imagination. The tactile experience of working with leather, combined with the satisfaction of creating something both beautiful and functional, makes it a favorite among crafters.
As you embark on your leather sewing journey, remember that patience and practice are key. Each project you complete will enhance your skills and bring you closer to mastering this timeless craft. So, gather your materials, set up your workspace, and let’s dive into the world of sewing leather.
Understanding the Basics of Sewing Leather
Can you sew leather using a standard home sewing machine? The answer is yes—with the right adjustments and tools. The ability to work with leather showcases the unique characteristics of the material and the craftsmanship involved in sewing it. To tackle this thicker, more challenging material, here are a few fundamental steps:
-
Invest in Proper Needles: A leather needle is non-negotiable. These needles are designed to penetrate thick materials with ease.
-
Adjust Stitch Length: Leather reacts differently to tight stitching, so adjust the length to about 3.5 to 4 for best results. Account for all layers, including any overlaps or seams, which adds to the total count of layers handled during a project.
-
Use High-Quality Thread: Heavy-duty polyester or nylon thread provides the durability leather projects demand.
-
Avoid Pins: Instead of pins, use clips or clamps to avoid leaving permanent holes in the leather.
-
Select the Correct Presser Foot: A Teflon or roller foot prevents sticking, resulting in smoother, more even stitches.
By laying this groundwork, you’ll minimize frustration and set your leather projects up for success.
Choosing the Right Equipment
The key to sewing leather effectively lies in having the right equipment. While leather sewing machines provide optimal performance, a standard sewing machine can also handle leather with additional modifications. For those on a budget, there are affordable options for sewing machines and accessories that can still deliver quality results without a significant investment.
-
Use a Walking Foot: This specialized presser foot is essential for sewing thick materials like canvas, leather, and vinyl. It helps guide these fabrics smoothly through the machine, preventing slippage and ensuring even stitching.
Essential Tools for Sewing Leather
-
Leather Sewing Machine: Designed for thicker materials, these machines have stronger motors and specialized features. Understanding the different types of leather sewing machines available is crucial, as it helps cater to various project needs and user experience levels.
-
Walking or Teflon Foot: Ensures even feeding and prevents the leather from sticking to the machine. Users have options such as a Teflon presser foot or specific leather sewing machines based on their needs and budgets.
-
Rotary Cutter and Cutting Mat: Precise cutting ensures cleaner seams and less wasted material.
-
Heavy-Duty Thread: Use polyester or nylon thread for extra strength and longevity.
-
Leather Needle: These needles are built to handle thick materials without breaking.
Investing in quality equipment upfront saves time and effort while delivering professional-quality results.
Preparing for Your Leather Project
Preparation is the foundation of any successful leather project. Spend time carefully setting up before sitting at the machine:
-
Cut with Precision: Use a rotary cutter on a cutting mat to achieve clean, straight edges.
-
Create Detailed Markings: Transfer pattern markings onto the wrong side of the fabric to avoid visible blemishes on the final product.
-
Condition and Finish: Apply a leather conditioner or finisher to enhance the material’s beauty and durability.
-
Plan Your Pattern: Careful planning and creating a detailed pattern ensures efficient use of materials. Testing and preparation are crucial when sewing with leather due to the unforgiving nature of the material. Use scrap leather to verify settings and techniques before starting an actual project to ensure proper thread, stitch length, and machine performance.
-
Handle Seam Allowances Properly: When working with leather, seam allowances may be left raw or glued. Use double-sided tape within the seam allowance instead of pins to avoid making holes in the material.
Taking these steps reduces errors and ensures a smoother workflow.
Setting Up Your Machine for Leather Sewing
Proper machine setup is crucial when working with leather. Follow these adjustments to optimize your machine for thicker materials:
-
Adjust Stitch Length: Set the stitch length between 3.5 and 4 for clean, secure stitches.
-
Use a Leather Needle: Its specialized tip cuts through thick material without tearing.
-
Apply the Right Thread: Heavy-duty thread ensures strength and durability.
-
Select an Appropriate Presser Foot: Prevent sticking with a roller or Teflon foot.
-
Test Settings On Scraps: Avoid costly mistakes by testing your machine on leftover leather and making necessary adjustments.
Importantly, patience and proper machine usage are essential for achieving quality results in leathercraft.
When your machine is correctly configured, you’ll achieve refined results even on challenging projects.
Tips for Working with Leather
Once your machine is ready, it’s time to start sewing! Use these techniques to handle leather effectively:
-
Steady Sewing: Use a slow, consistent pace to prevent damage to the material or skipped stitches.
-
Clamps Over Pins: Avoid poking permanent holes by using clips or clamps to secure pieces together. Use heavy-duty thread to hold heavy fabrics together and consider using tape instead of pins to hold pieces in place without damaging the leather.
-
Straight Edges: Use a metal ruler or straightedge for precise cuts.
-
Clean Workspace: Keep your area free from debris to avoid scratches or scuffs on the leather.
A deliberate, methodical approach often leads to superior results when working with leather.
Common Mistakes to Avoid
When sewing leather, even small mistakes can have a significant impact on the final product. Here are some common pitfalls to watch out for and tips on how to avoid them:
-
Using the Wrong Needle: One of the most frequent mistakes is using a standard needle instead of a leather needle. Leather needles are specifically designed to penetrate thick materials without breaking. Always ensure you have the correct needle for the job.
-
Incorrect Stitch Length: Leather requires a longer stitch length to prevent perforation and tearing. Setting your stitch length between 3.5 and 4 is ideal. Avoid using short stitches, as they can weaken the leather.
-
Skipping Test Runs: Before starting your project, always test your machine settings on a scrap piece of leather. This helps you make necessary adjustments and avoid costly mistakes on your main project.
-
Not Using the Right Presser Foot: A Teflon or roller foot is essential for sewing leather. These feet prevent the material from sticking and ensure smooth, even stitches. Using the wrong presser foot can lead to uneven stitching and frustration.
-
Neglecting to Condition the Leather: Leather can dry out and become brittle if not properly conditioned. Applying a leather conditioner before sewing helps maintain its suppleness and durability.
By being mindful of these common mistakes, you can save time, reduce frustration, and achieve better results in your leather sewing projects.
Creating Professional-Finish Leather Goods
Crafting leather goods is as much about the finishing touches as the stitching. Here’s how to achieve a polished, professional look:
-
Burnish Edges: Smooth edges using a burnishing tool or edge dye for a refined finish.
-
Consistent Stitch Patterns: Maintain even tension and stitch spacing to enhance aesthetics and durability.
-
Add Lining: Incorporate lining or interlining for structure and longer-lasting pieces.
Achieving clean edges and uniform stitches will make your leather creations stand out.
Troubleshooting Common Issues
Even with careful preparation, you may encounter issues while sewing leather. Here are some common problems and how to troubleshoot them:
-
Skipped Stitches: If your machine is skipping stitches, it could be due to a dull needle or incorrect thread tension. Replace the needle with a new leather needle and adjust the tension settings. Ensure you are using heavy-duty thread suitable for leather.
-
Thread Breaking: Frequent thread breaks can be caused by using the wrong type of thread or incorrect tension. Use heavy-duty polyester or nylon thread and check that the tension is not too tight. Re-thread the machine to ensure there are no snags.
-
Sticking Material: If the leather is sticking to the presser foot, switch to a Teflon or roller foot. You can also place a piece of tissue paper between the leather and the foot to reduce friction.
-
Uneven Stitches: Uneven stitches can result from inconsistent feeding of the material. Ensure you are using a walking foot or a Teflon foot to maintain even feeding. Slow down your sewing speed to gain better control.
-
Difficulty in Cutting: Achieving clean cuts in leather can be challenging. Use a sharp rotary cutter and a cutting mat for precise cuts. A metal ruler or straightedge can help guide your cuts for straight edges.
By addressing these common issues, you can ensure a smoother sewing experience and produce high-quality leather goods.
Advanced Techniques for Skilled Leatherworkers
Once you’ve mastered the basics, expand your skillset with advanced leather sewing techniques:
-
Curved Stitching: Practice sewing curved seams using a walking foot to maintain even feeding. Sewing leather can be challenging, especially when dealing with a lot of layers, so avoid complex projects with excessive detail or thick layering.
-
Glue-Assisted Seams: Apply adhesive to the seam allowance to keep pieces in place while stitching. Many sewists may have hesitations, but starting leather projects can lead to fulfilling creative endeavors that they have always wanted to undertake, providing personal satisfaction and achievement.
Conclusion and Next Steps
Congratulations on taking the first steps towards mastering the art of sewing leather! With the right tools, techniques, and a bit of practice, you can create beautiful and durable leather items that will stand the test of time.
As you continue your journey, consider exploring more advanced techniques and projects. There are numerous resources available, including online tutorials, videos, and classes, to help you expand your skills. Joining a community of leather crafters can also provide valuable support and inspiration.
Remember, every project you complete is an opportunity to learn and improve. Don’t be afraid to experiment and try new things. The more you sew, the more confident and skilled you will become.
So, gather your materials, set up your workspace, and start your next leather sewing project. Whether you’re making a new wallet, a stylish belt, or a custom bag, the possibilities are endless. Happy sewing!
